Steps in Conducting a What If / Checklist Analysis for Process Safety
Introduction
A strong process safety program depends on a reliable risk assessment framework. While Hazard and Operability (HAZOP) Studies and Layers of Protection Analysis (LOPA) are common in complex operations, simpler systems and earlier project phases often benefit from a different but equally effective method—What-If / Checklist Analysis.
This powerful hazard identification technique is particularly useful in facilities with simpler processes, such as packaging operations, utility systems, storage terminals, or pilot plants. It allows teams to explore potential deviations and hazards through structured brainstorming, guided by experience and predefined questions. When done properly, this method highlights vulnerabilities and identifies practical safeguards.
This article by Saltegra Consulting outlines how to do a What-If Analysis, integrate a risk assessment checklist, and review it properly—ensuring that your team captures key hazards and develops meaningful recommendations for safer operations.
What Is a What-If / Checklist Analysis?
What If / Checklist Analysis is a qualitative hazard identification technique that combines brainstorming (“what if” questioning) with structured prompts from a checklist. It’s often used for systems or processes that are either too straightforward for a full HAZOP or not yet developed enough to apply more detailed methods.
In a “What If” session, the team poses hypothetical questions such as:
- What if the pump starts without priming?
- What if the valve is left open?
- What if a utility failure occurs during transfer?
These questions are designed to stimulate discussion about potential causes, consequences, safeguards, and recommendations. When combined with a risk assessment checklist—a structured list of commonly known hazards—the analysis becomes more comprehensive and efficient.
When to Use What-If / Checklist Analysis
This method is appropriate for:
- Batch processes or utility systems with limited continuous hazards
- Early design phases, when process details are not fully defined
- Smaller chemical operations or non-reactive systems
- Evaluating maintenance, startup, or decommissioning procedures
- Assessing ancillary systems such as HVAC, inerting, or cleaning processes
It can also be used to complement other PHAs, especially when time or resources are limited.
Step-by-Step Guide to Conducting a What If / Checklist Analysis
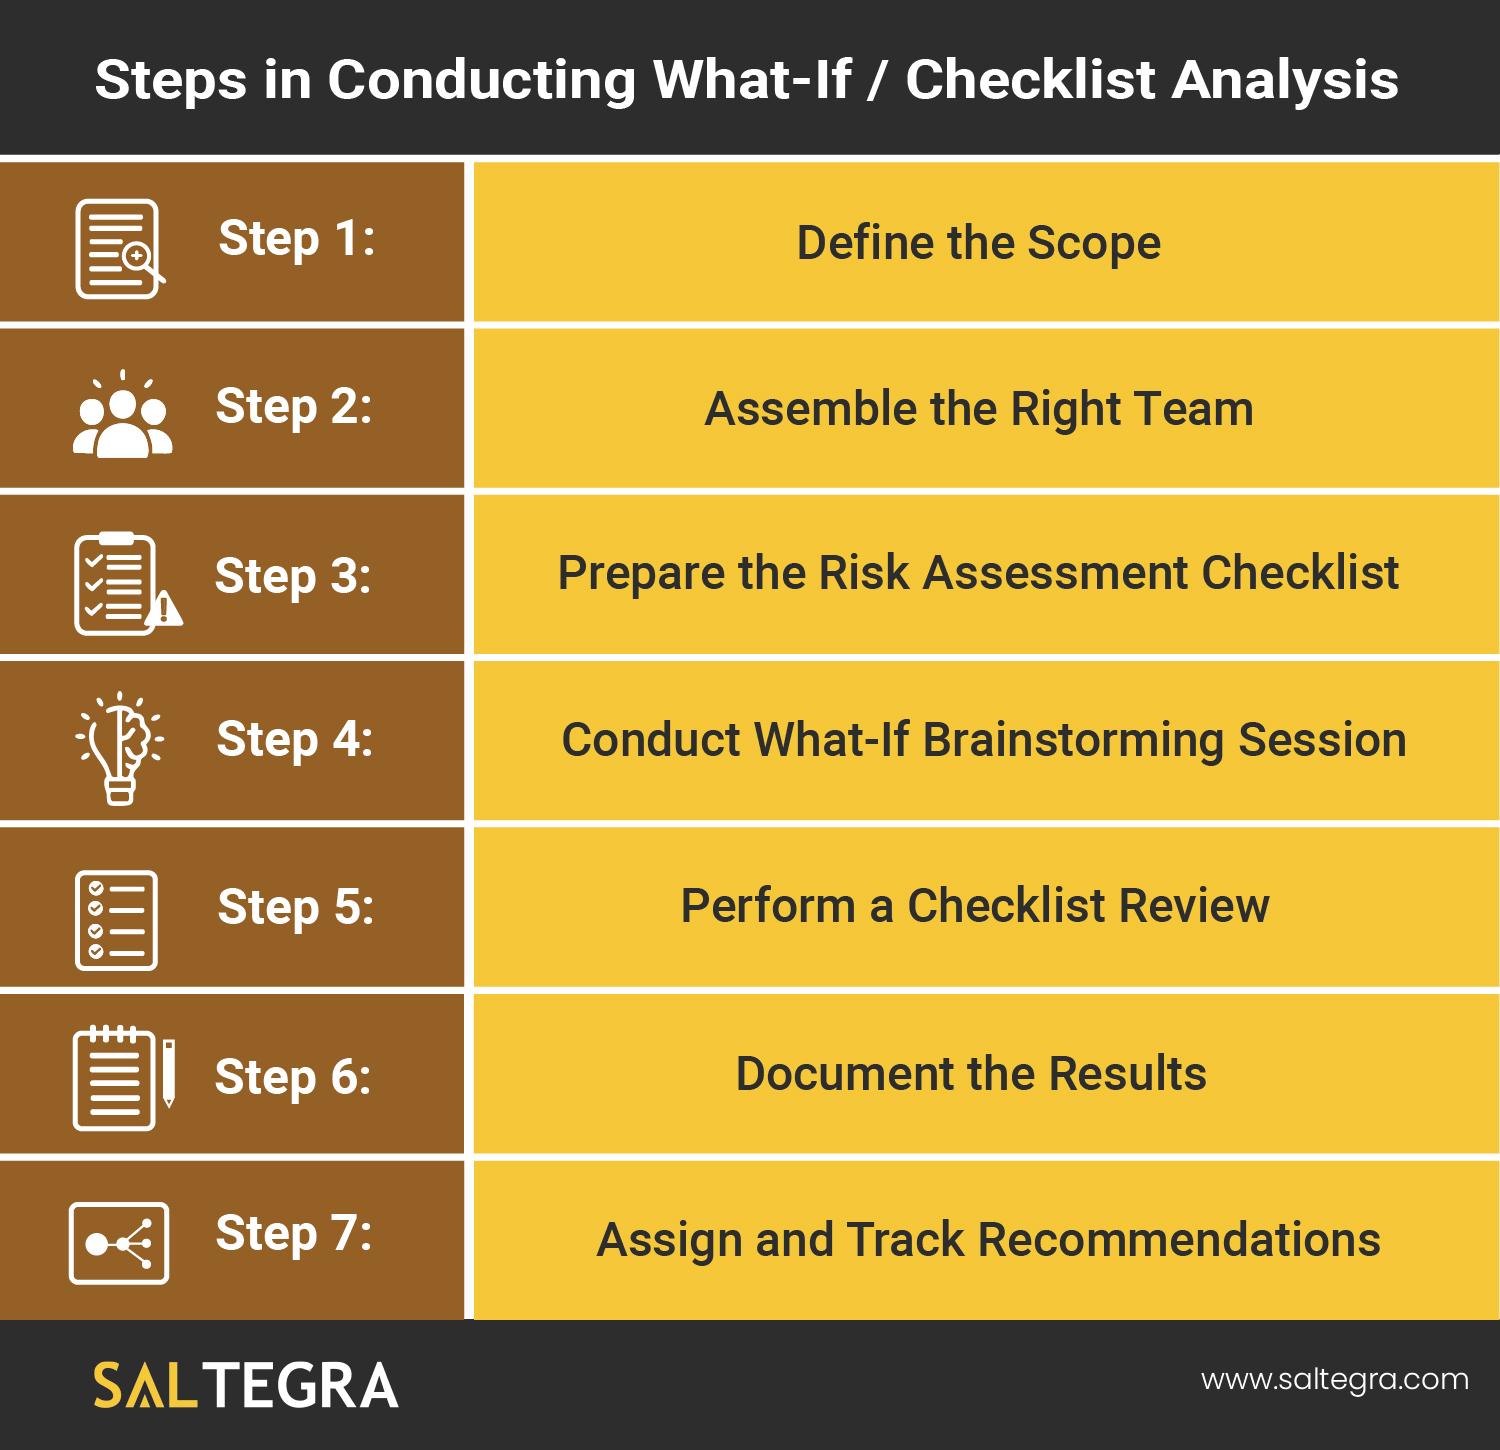
Step 1: Define the Scope
Before starting the analysis, clearly define:
- The system boundaries (e.g., tank to pump, or entire blending area)
- Operating modes (e.g., normal operation, startup, shutdown)
- Purpose of the study (compliance, design review, or process improvement)
Clarifying the scope ensures the team remains focused and avoids discussing topics that are redundant or outside the scope.
Step 2: Assemble the Right Team
A multi-disciplinary team ensures different perspectives are captured. A typical team includes:
- A facilitator with experience in conducting PHAs
- Process or operations engineers
- Maintenance or reliability staff
- Operators familiar with daily tasks
- Safety or EHS personnel
Each participant plays a role in identifying gaps, validating safeguards, and proposing practical solutions.
Step 3: Prepare the Risk Assessment Checklist
The success of a What-If / Checklist Analysis relies heavily on the risk assessment checklist. This list should be customized based on the facility’s processes, past incidents, and regulatory expectations. Common checklist categories include:
- Equipment failures (e.g., pump seal leak, valve stuck)
- Human error (e.g., improper lineup, missed inspection)
- Utility loss (e.g., power, air, nitrogen)
- Containment loss (e.g., hose rupture, tank overfill)
- Chemical handling (e.g., incompatible materials, mislabeled containers)
- External events (e.g., fire, weather, flooding)
This checklist serves as both a discussion prompt and a coverage verification tool during the review at the end of the session.
Step 4: Conduct the What If Brainstorming Session
The team begins by walking through the system and asking “what if” questions at each major step or component. For example:
- What if the mixer is started with the lid open?
- What if the wrong tank is selected during transfer?
- What if cooling water is lost during an exothermic reaction?
For each scenario, the facilitator documents:
- The deviation or hazard
- Possible causes
- Potential consequences
- Existing safeguards
- Recommendations (if current safeguards are insufficient)
Discussions are collaborative but guided to stay focused and timely. The team should aim to explore realistic and credible deviations based on operational knowledge and historical data.
Step 5: Perform a Checklist Review
After the brainstorming session, the team reviews the original risk assessment checklist to confirm that all key categories were addressed. This checklist review step helps catch any overlooked areas and adds confidence to the completeness of the analysis.
For example, if the brainstorming focused heavily on mechanical failures but skipped external events, the checklist can prompt further discussion:
- Was lightning protection for the outdoor tank addressed?
- Have we considered a truck collision with loading hoses?
By using the checklist as a validation tool, the team ensures broader hazard coverage beyond what came up in the initial session.
Step 6: Document the Results
The final What-If / Checklist Analysis report should include:
- Study objectives and scope
- List of team participants and their roles
- Summary of the system reviewed
- Detailed table of identified “what if” scenarios
- Safeguards and recommendations
- Completed the checklist with notes from the checklist review
The report should be clear enough for non-participants to understand the risks discussed and the reasons behind any recommendations.
Step 7: Assign and Track Recommendations
Like any risk study, What-If / Checklist Analysis is only effective if its recommendations are acted upon. Each recommendation should have a clear owner, a defined timeline, and a detailed closure strategy. Some companies use compliance tracking tools or project management systems to ensure follow-through.
This step is especially important during audits or inspections, as regulators often verify whether safety studies have led to action.
Advantages and Limitations of What If / Checklist Analysis
Advantages:
- Flexible and fast to implement
- Encourages team participation
- Works well for simple or early-stage systems
- Can be completed in shorter timeframes than HAZOP
Limitations:
- Less structured than HAZOP, which can lead to missed hazards if not facilitated carefully
- Depends heavily on the quality of the risk assessment checklist
- May not be suitable for complex or high-risk systems where quantitative methods are needed
Conclusion
What-If / Checklist Analysis is a powerful tool when applied correctly. It brings structure to brainstorming, ensures common hazards are not overlooked, and helps teams think through “what could go wrong” before something actually does.
Knowing how to conduct a What-If Analysis effectively involves more than just asking questions—it requires preparation, strong facilitation, a tailored risk assessment checklist, and a thorough review process.
At Saltegra Consulting, we support clients in applying this technique across various systems and industries. Whether you’re evaluating a blending skid, a utility system, or a simple packaging line, our team can help you tailor your What-If / Checklist Analysis to meet both regulatory expectations and real-world operational needs.